Nowdays creating (static) website could be simple and cheap, yes, we can use google or aws with free credit for annualy. For this chapter we try to make with github and connect with custom domain.
Part 1 — choose a custom domain
skip if you want using just domain from github.io or you didn’t spend cost a penny

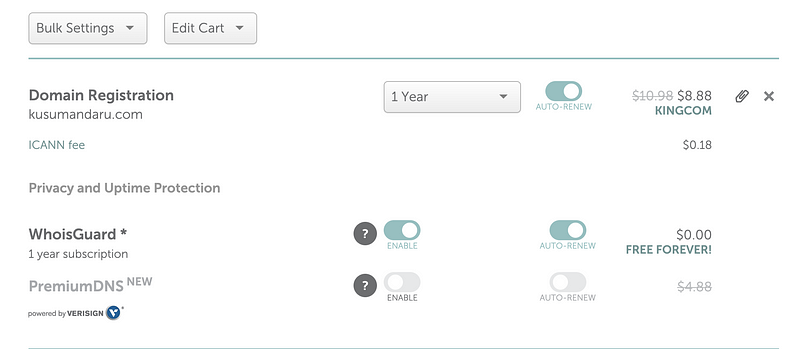
You can buy with various domain provider like godaddy, wix, 101domain or many option outside there, for this example I use namecheap.
Some domain like .com need activation via email to check owner validity.
Part 2 — create repository
Now create repository with your-username.github.io inhttps://github.com/new
optional choose .gitignore with jeckyll when integrate using jeckyll

then create repository
On local terminal grab repository git clone https://github.com/username/username.github.io
Go to selected folder with cd username.github.io
Create index.html with echo “Hello World” > index.html
After that commit and push git add . and git commit -m "first blood" than git push -u origin/master
Go to https://username.github.io.
Part 3— link custom domain
On your repository choose setting tab.
Then scroll to below until found custom domain. Fill with your custom domain.

Follow your DNS provider’s instructions to create a CNAME record that points your subdomain to your default pages domain. For example, if you own the subdomain www.example.com, you can configure a CNAME record to point www.example.com to YOUR-GITHUB-USERNAME.github.io. DNS changes can take over a full day to update, and the wait varies among DNS and hosting providers.

In local terminal dig www.example.com +nostats +nocomments +nocmd
Part 4 — Github https redirection
If you configured your custom domain using an A record, your A record must point to one of the following IP addresses for HTTPS to work:
- 185.199.108.153
- 185.199.109.153
- 185.199.110.153
- 185.199.111.153
After updating any A record IP addresses, you must remove and re-add your custom domain to the repository you’re using to publish your Pages site to trigger the process of enabling HTTPS.
check with dig example.com +nostats +nocomments +nocmd
Than choose https on github repository setting

notes: in this step https site is available, but not secure
Part 5 — Using cloudflare to inject https
Since on this writing date, github not support custom domain https, so we need redirect dns using cloud flare to force ssl.
Register first on https://www.cloudflare.com/


On your hosting change nameservers default dns into cloudflare dns.
lia.ns.cloudflare.com for dns1
west.ns.cloudflare.com for dns2
It cost several hours until days depends on domain provider, check status on overview tab.
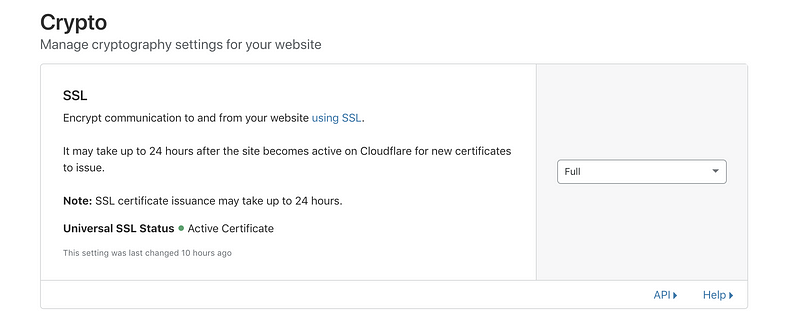
Than go to crypto tab than set ssl to on, it will redirect any http request to https and use ssl from cloud flare.

Also turn check on Automatic https rewrite to make assets to use https when eligible, rather than https
Your site now already using https

Part 6 — Using jekyll to generate website
Choose theme from github page theme from https://jekyllthemes.io/
or just install jekyll using jekyll new blog
Build using command bundle exec jekyll build and check with bundle exec jekyll server.
check on localhost:4000
After done some improvement. copy _site into your repo github with command cp -r _site username.github.io
Push using git push than your site already published

Happy deploy 🙂