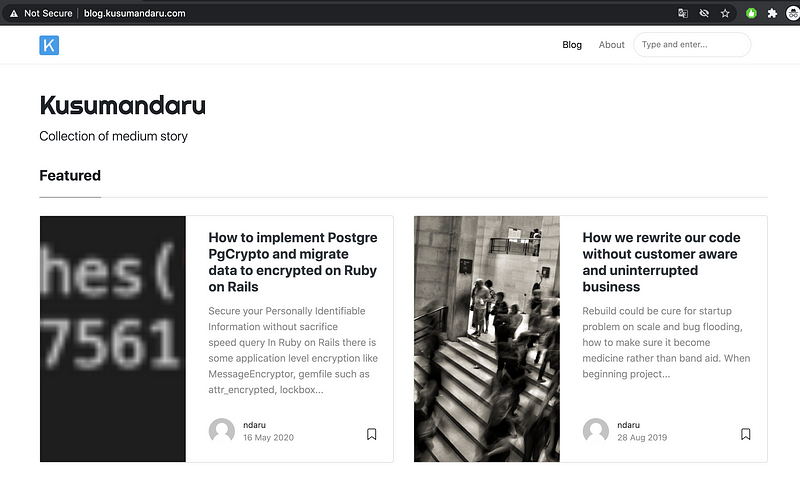
How to deploy Jekyll in Heroku using free dynos and using cloudflare as DNS for custom domain
These article is alternate story from previous article about jekyll and custom domain. Instead using github page, we try to adopt Heroku free tier. Skip to step 4 if you ever read above article.
Part 1 — choose a custom domain
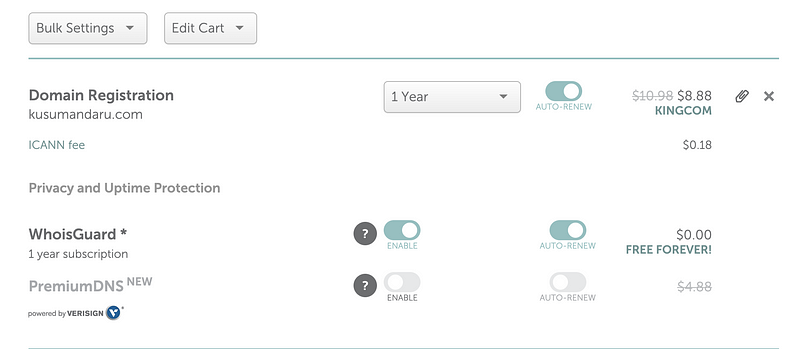
You can buy with various domain provider like GoDaddy, Wix, 101domain or many option outside there, for this example I use Namecheap.
Some domain like .com need activation via email to check owner validity.
Part 2— Using cloudflare to inject https
We use cloudflare to connect custom domain with CNAME on heroku
Register first on https://www.cloudflare.com/
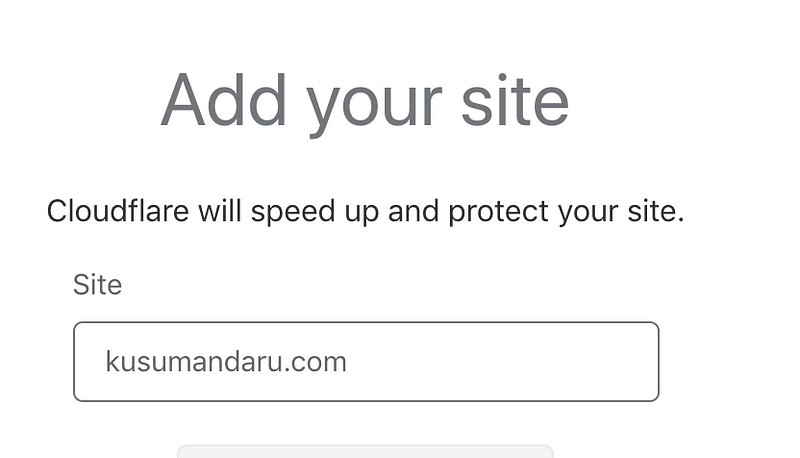
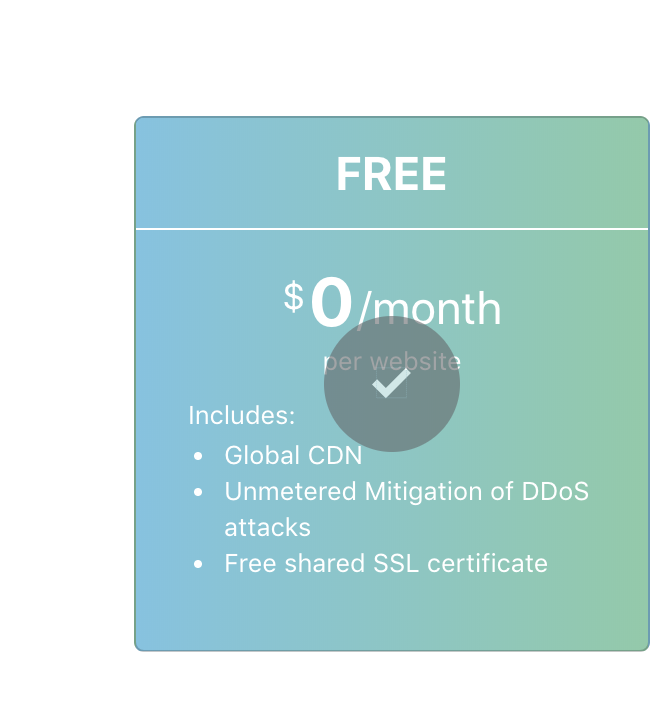

On your hosting change Nameservers default dns into cloudflare dns.
lia.ns.cloudflare.com for dns1
west.ns.cloudflare.com for dns2
It cost several hours until days depends on domain provider, check status on overview tab.
Than go to crypto tab than set ssl to on, it will redirect any http request to https and use ssl from cloud flare.
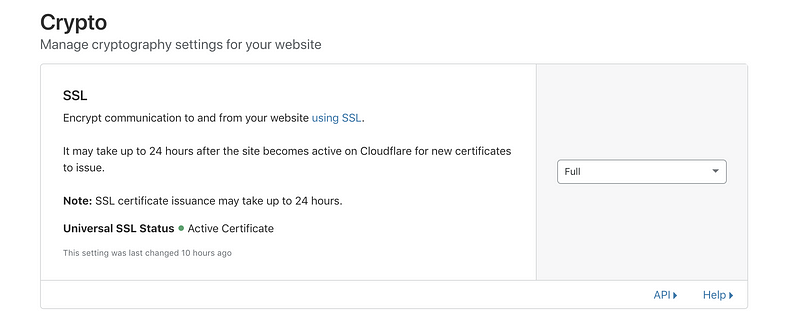
Also turn check on Automatic https rewrite in Edge Certificates to make assets to use HTTPS when eligible, rather than HTTP
Your site now already using https

Part 3— Using jekyll to generate website
Choose theme from github page theme from https://jekyllthemes.io/
or just install jekyll using jekyll new blog
Build using command bundle exec jekyll build and check with bundle exec jekyll server.
check on localhost:4000
Part 4 — Install Heroku on Jekyll
Register heroku free dynos here
Install heroku client using brew brew install heroku/brew/heroku
Create project name using heroku create {name of project}
Adding ruby dependencies using heroku buildpacks:add heroku/ruby
Since jekyll generate static website to host static website we must install static web using heroku buildpacks:add https://github.com/heroku/heroku-buildpack-static
add static.json and Rakefile on root path
https://gist.github.com/kusumandaru/c2f0cba9b95f232aa3f19c94ad37e4bb
Root file is located for generated jekyll and Rakefile to build command rake assets:precompile
For deploy using branch, use git push heroku {name of branch}:master
example: git push heroku heroku:master
Than link custom domainheroku domains:add blog.kusumandaru.com
Check domain creation using heroku domains:wait ‘blog.kusumandaru.com'
Check domain setup using heroku domains to check DNS and CNAME

For free service we cannot add custom SSL, only hobby and upper plan can use SSL, if you have those plan, use heroku certs:add certificate.pem certificate.key

We skip those step if free tier. We set on DNS to redirect subdomain to heroku. On DNS tab fill subdomain name, ex: blog from blog.kusumandaru.com and set domain name from heroku. kusumandaru.herokuapp.com . We use domain name since if we use DNS Target it will cause redirect loop on cloudflare

Than wait for several minutes than website is published
